The NEGATIVE ACTING RESIST from Datak,
Instructions.
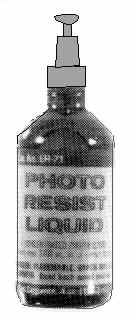
The method is based upon using the Datak no. ER-71 Photo Resist liquid,
which is a light sensitive spray-on resist. The small, 4 ounce bottle will cover about
1,700 square inches and is applied with the pump action sprayer included in the package.
Good results can be expected if you carefully follow the steps.
NOTE: This process has been in use for many years. It works well when done
correctly. It requires careful attention to details (the instructions) to work well.
Beginners are referred to our pre-coated positive acting PC boards, which are somewhat
forgiving and can usually produce good PC boards for the first-time user. (See Postive Process.) The main attractions to this
Negative process are twofold: 1. you may coat any shape board and, 2. the material can be
very economical to use. Plus, it can be handy to have on hand when an idea suddenly needs
to be turned into a circuit.
You will need to begin with a quality negative.
If you have a positive, you will need to reverse it so that the circuit is
"clear" (transparent) and the background is opague (black or equavilent). If you
do not have a method for making a negative, you might look into the DATAK Neg-Fast film
process. That process can be used to reverse in either direction. A local photographic
shop may be able to use a standard photographic process to make a high contrast
negative. (We will add NegFast film to the web in March. In the mean time, you may request
a Datak instructions booklet no. 12-760A by asking for same at this address: LKGINDUSTRIES@cs.com and be sure to give us a
postal address to send it to. This offer good only in the USA.
Step 1. Clean the PC board. This is a critical step and must be done
well. Scour the board with water and a common kitchen cleanser (containing bleach) and
very fine steel wool. Scrub the board and rinse until water sheets out evenly over the
entire surface when you hold the board horizontally under a pencil-lead strea
Dry the cleaned board with paper towels. You could wipe with ammonia
(never with alcohol). Handle by the edges, don’t touch the surface.
Step 2. Coat the Board with Resist. Do in very subdued light*
Ideal lighting could be a dark room or simple work in a room lighted only with a yellow
"bug" light or two (about 25 watts). The board should be warm, ideally about 120
degrees F. Heat the board on a hot plate or you could warm it with a heat gun or hair
dryer.
Lay the board flat and spray a light, continuous film . (Serious sink
marks will indicate poor board cleaning.) Sight along the board surface toward your light;
make the coat as even as possible. (Some long time users suggest using two very thin
coats; drying thorougly between applications.)
Step 3. Drying the PC Board. The board may simply be place in a dark
cupboard to dry over night. Or, bake it in an oven at 140 degrees F for twenty minutes;
the oven must be dark. Allow the board to cool ten minutes before use. Never expose it to
room lighting, sunlight etc. and handle only in the dark or above suggested lighting.
If your coating is not a clean looking, even coat with few signs of
bubbles, consider repeating the process by adding a second coat. Strive for a thin coat,
and as even as you can make it. A poorly coated board could be cleaned off with developer
to do over again.
Step 4. Exposing the PC Board. Place your negative on top of the resist coating and place
the two in a contact exposure frame. The frame will hold the negative and board tightly
together to prevent light from leaking between them.
Expose the board to light using one of the following choices:
1.) Sunlight at about noon, for three minutes.
2.) Datak no. ER-2000 bulb, for 3-1/2 to 4 minutes at a distance of 12" for smaller
boards. For Boards 5" x 5" up to 9" x 9" use a distance of 15"
and five minutes. Increase distance and time proportionately for larger boards. .
3.) Two F15T8BL bulbs 20 minutes at 15".
Step 5. Developing the PC Board…
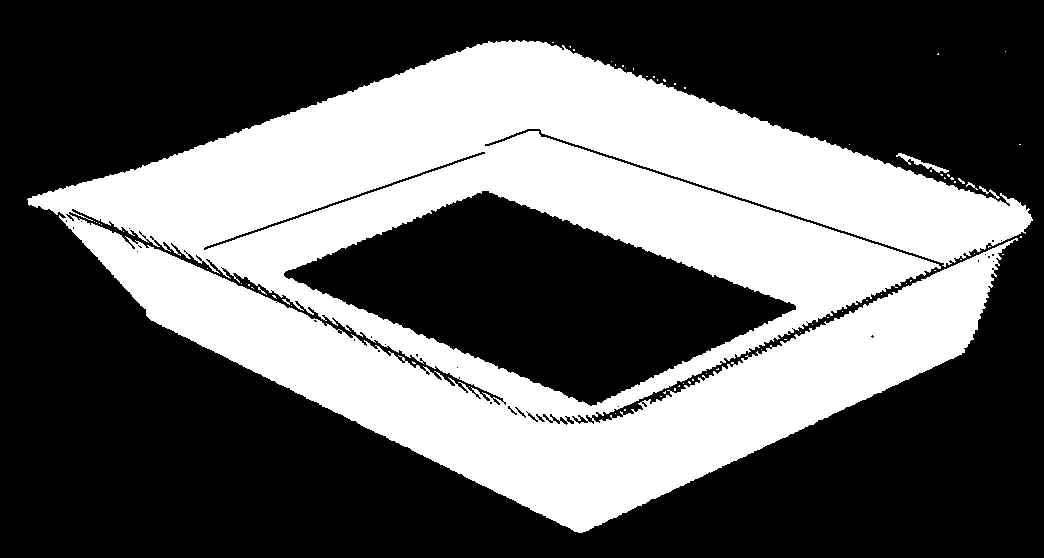
You need two metal or glass photographic trays for developing (never
use plastic trays). If you work with small boards, find some smaller trays which will save
on developer.
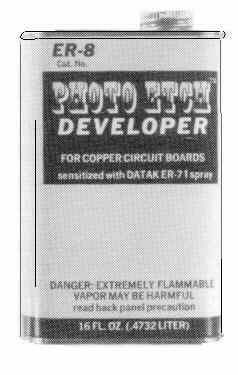
Use only Datak developer no. ER-8. Place enough developer in each tray
so that the board is under the developer about 1/16" when it is placed flat in
the tray.
Note: The resist pattern is transparent during developing and cannot be easily seen until
it is completely dry. (Some users have learned to see the resist by holding the board at
an angle to the "bug" light. Seeing it is not really necessary, however.)
NOTE: Use only developing trays made of Glass or Metal
(Datak no. 12-520). Never use plastic trays.
Work in a well ventilated area; the fumes from the developer can affect some people;
get into open air if you feel light headed.
Follow these developing steps:
a.) Place exposed board in first tray for 30 to 45 seconds, gently
rocking the tray every five seconds. (Never touch the surface of the board, the resist
will scratch easily. Handle by the edges.)
b.) Remove board, holding by the edges. Allow it to drain for ten
seconds and then place it face down on 2 or 3 layers of clean facial tissue (don’t slide
or rub!). At this stage the resist is much like a soft, gummy, swollen plastic.
c.) Carefully remove tissue and immerse the board in second tray for
ten seconds. Remove, allow it to dry and inspect the pattern against the light (hold board
flat and point it toward the light; sight along board). Good developing shows up the
pattern clearly with no drain marks or stains in the areas to be etched. Old, used
developer will leave globs at random.
Dry thoroughly before etching; at least ten minutes at room
temperature. The resist must be hard before etching. After five minutes of "air
time", you could dry further with a low setting on a hair dryer. A simple fan, or a
half hour of time in the open air will work too. The board no longer needs darkness at
this stage.
Step 6. Touch up. The board may now be handled in normal lighting. Inspect the board for
breaks in traces or pads. If there are any, you can touch them up with the etch resist
pen. Repair any breaks before etching.
If the above steps were done well, touch up will probably not be needed.
Etch the PC board. See the etching instructions on the bottom of the page for Positive Instructions. Etching may be done identically
for both, of course.
QUESTIONS? : ASK us at TheseusRob@cs.com
¬¬


